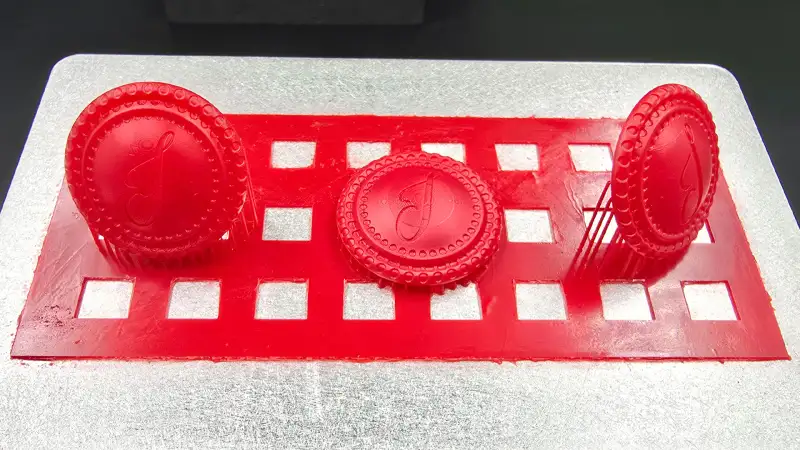
OPTIMIZING 3D PRINTING FOR JEWELRY: ORIENTATION TIPS AND MOIRÉ SOLUTIONS
Crafting flawless jewelry, particularly when using 3D printing, calls for an unmatched degree of precision. The orientation of the model and the regulation of the moiré effect are two crucial elements of this accuracy. The quality of the end product is affected by these factors in a significant manner. Here’s a closer look at their impact and how to optimize them for impeccable jewelry prints.
MODEL ORIENTATION IN 3D PRINTING JEWELRY:
The placement of a 3D model on the printer's build plate, or model orientation, is essential to producing high-quality output. It has an impact on post-processing requirements, surface polish, and structural integrity.
The Significance of Orientation
• Surface Finish
Layer lines are frequently apparent in parts of the model that face upwards or are positioned at shallow angles, necessitating more post-finishing.
Layer lines can be minimized and the requirement for intensive polishing can be decreased by aligning smooth or complicated surfaces at ideal angles.
• Support Structures
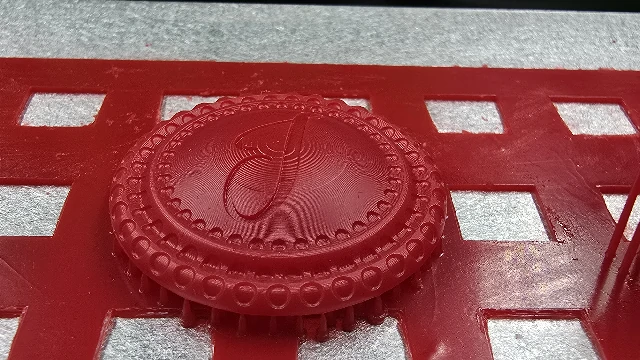
Support structures are frequently needed for designs with overhangs or empty areas, and their removal may leave markings.
A cleaner finish is produced by minimizing support contact on visible places.
• Strength of Print
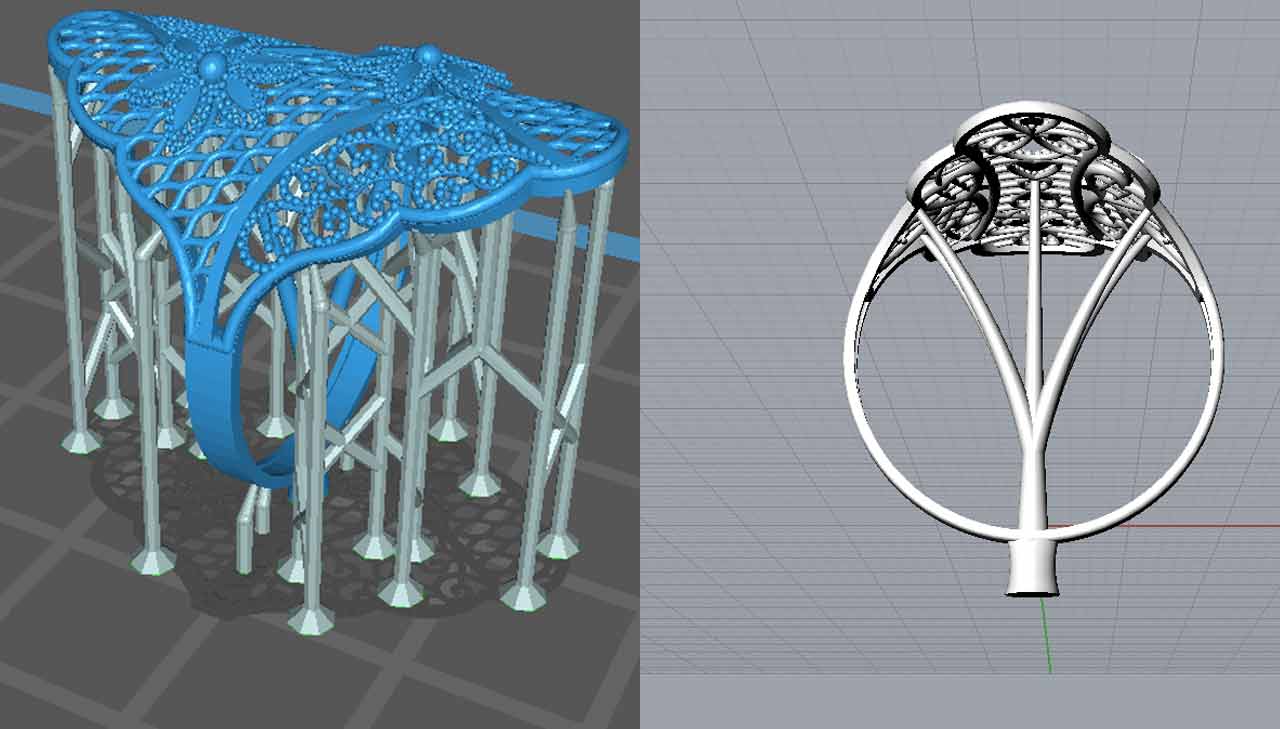
Along the z-axis, layers stick together more firmly. Stress-prone regions are positioned parallel to this axis to increase the final piece's durability.
Tips for Jewelry-Specific Orientation
• Rings
To reduce the amount of visible layer lines along the circular profile, align the shank parallel to the build plate. Rotate the ring slightly to minimize the requirement for supports while maintaining detail.
• Pendants
Pendants minimize apparent lines and provide even layer adhesion by orienting flat surfaces
parallel to the build plate.
• Complex Designs
Filigree and other delicate features work best when orientated at small angles, such as 30° to 45°, to balance the need for less support with the clarity of the details.
THE MOIRÉ EFFECT IN 3D PRINTING:
When fine design elements interact with printed layers, visual interference patterns known as the moiré effect, are created. This condition is especially troublesome in jewelry, where accuracy in design is crucial.
The Moiré Effect's Mechanism:
• Comparing Detail Size and Layer Resolution
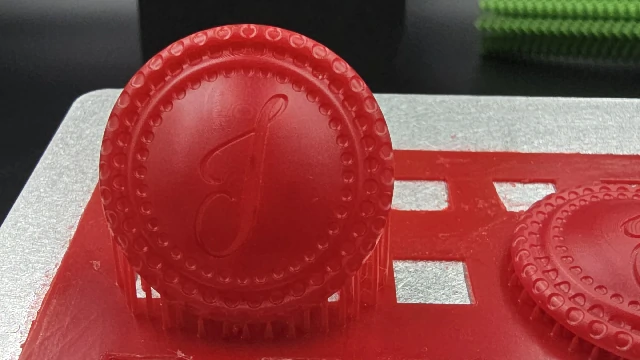
Repetitive visual imperfections might arise when the printer's resolution isn't up to par with the scale of complex patterns.
• Interference at the Surface
Closely spaced patterns or overlapping textures intensify the moiré effect, producing undesired artifacts.
• Angles of View and Light
In some lighting situations, curved designs and reflective surfaces can intensify these interference patterns.
How to Reduce the Effect of Moiré?
• Enhance the Resolution
Make use of the maximum resolution your printer can handle to produce finer layers that complement complex elements.
• Modify the model's scaling
Interference can be decreased by slightly scaling patterns up or down to break up overlapping layers.
• Conscientious Model Orientation
Curved surfaces should be rotated or printed at a small slant to prevent direct alignment with the build plate. Flat patterns should not be orientated parallel to the plate.
• After-Processing Methods
Minor moiré artifacts can be smoothed by polishing and sanding. Electro-plating is one type of coating that can cover up any residual flaws.
INTEGRATING MOIRÉ MITIGATION AND ORIENTATION
Orientation optimization and moiré management are vital for the production of flawless 3D-printed jewelry.
• Experiment with Different Angles
It can be done by evaluating a variety of orientations in the slicing software to minimize the need for support and minimize moiré artifacts.
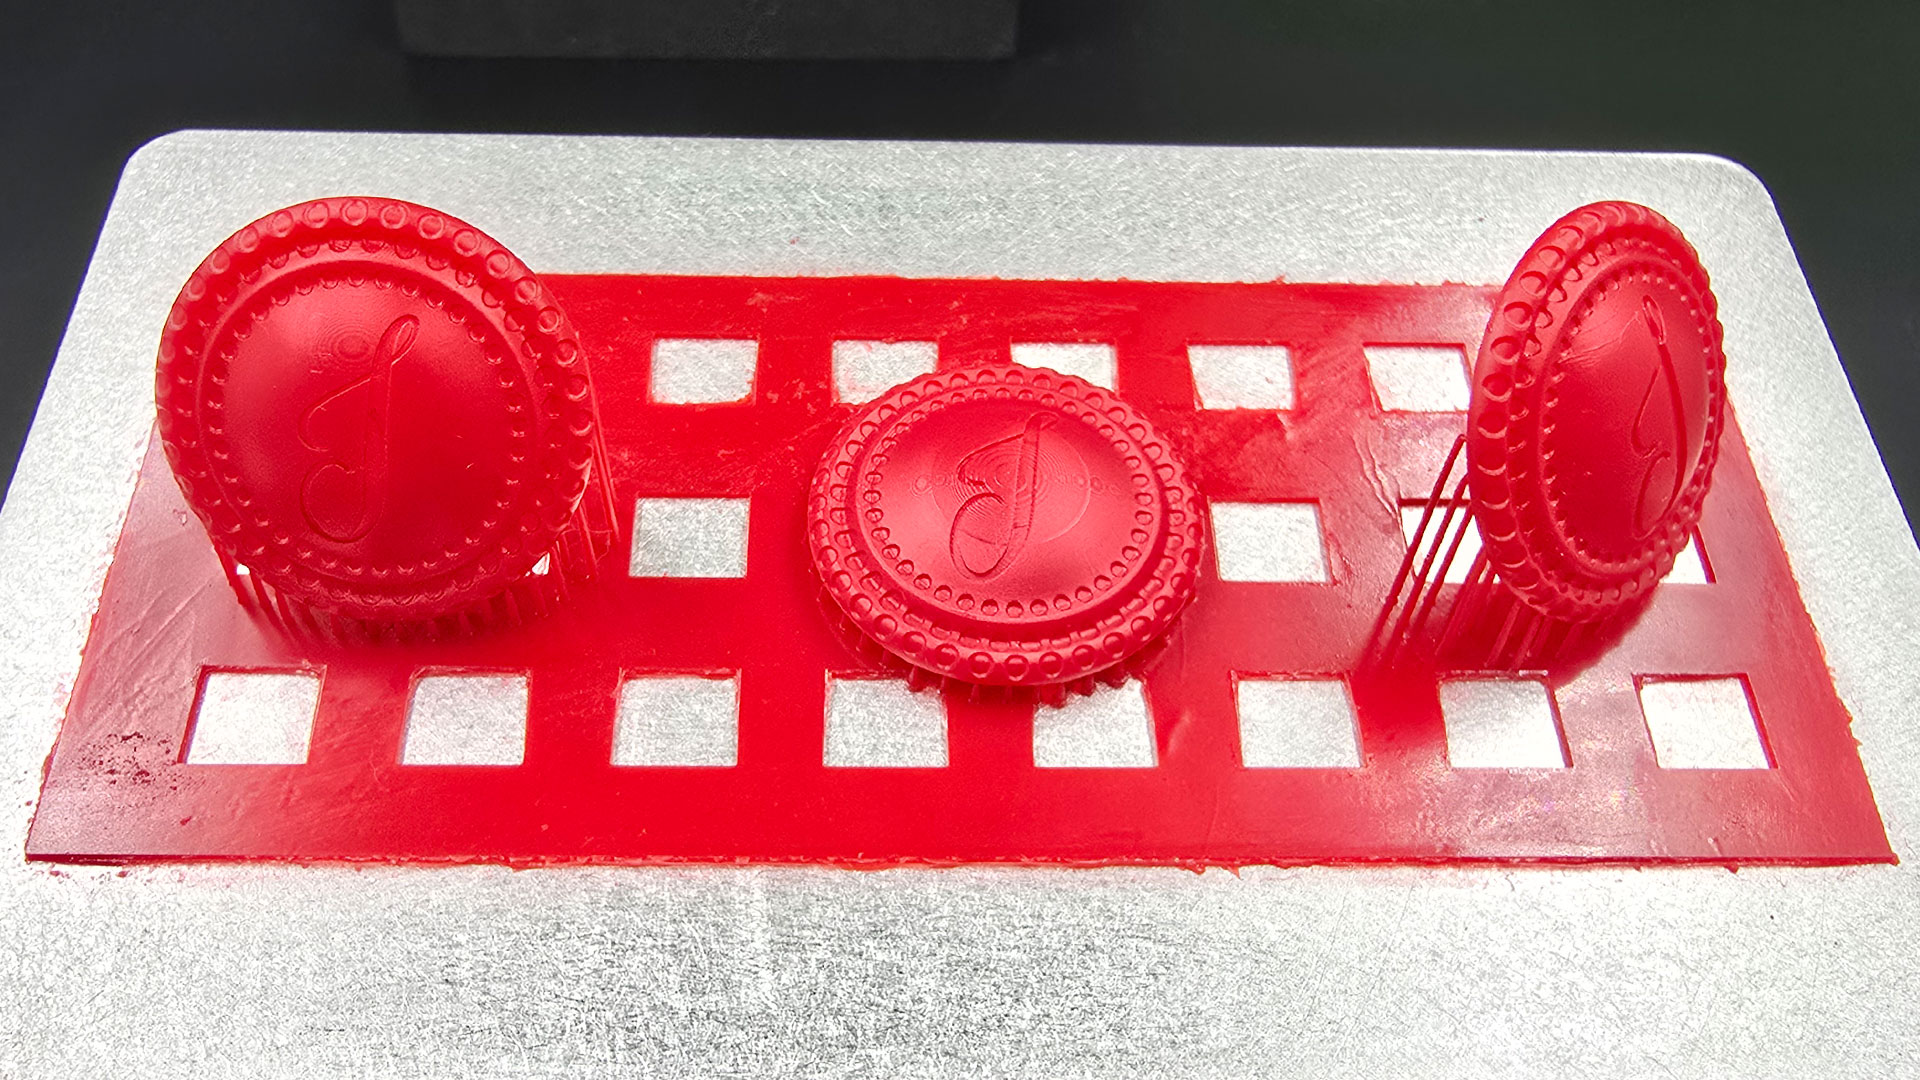
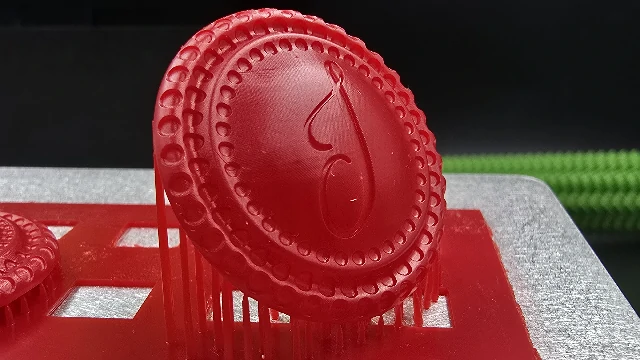
Best way to reduce Moire Effects is Re-Orient the Design 45 Degrees in XZ and 45 Degrees in XY.
Why Re-Orienting by 45° in XZ and XY Helps:
-
XZ Plane (45° Tilt):
- Tilting in XZ breaks alignment with the vertical build direction (Z-axis).
- It reduces the uniform visibility of layers and spreads the interference pattern.
-
XY Plane (45° Tilt):
- Rotating the design in XY ensures the features are no longer parallel to the printer’s stepper motor movements in the horizontal plane.
- This reduces alignment with the print resolution grid.
-
Combining Both Tilts:
- Tilting 45° in both XZ and XY planes redistributes the print layers more uniformly across all axes.
- This smoothens surfaces, minimizes stepping artifacts, and significantly reduces Moire effects.
• Print Test Samples
Before committing to the final print, print small prototypes of designs with repetitive patterns to identify potential issues.
• Utilize Materials of Superior Quality
Smoother finishes are frequently achieved and artifact visibility is decreased with specialized resins made for jewelry or high-detail sculptures.
IN CONCLUSION
Creating outstanding 3D-printed jewelry requires a thorough understanding of model orientation and how to minimize the moiré effect. You can produce detailed, faultless items that surpass the greatest levels of expertise by combining meticulous design preparation, best printing techniques, and accurate post-processing. The quality, durability, and aesthetic appeal of the ultimate 3D printed product are significantly impacted by these factors.

