SUPPORTS ON THE RING FOR JEWELRY 3D PRINTING AND JEWELRY CASTING USING GV3DPRINTING
PROTOSPEED
This lesson is brief but effective. When it comes to 3D printing jewelry, designers frequently turn to a variety of techniques, such as sketching casting sprues or trees, or using Bell support functions. But now that GV3D printing commands are accessible in programs like Gemvision Matrix and Rhino, we can greatly streamline this procedure, guaranteeing user-friendliness and saving a ton of time.
GV3D PRINTING COMMAND UTILISATION
First, we will draw the tree and any necessary supports using the GV 3D printing command. Although this function highlights areas that need assistance, it's important to remember that relying only on it might not be the best course of action. Now let's start the procedure.
EASILY CREATING TREE SUPPORTS
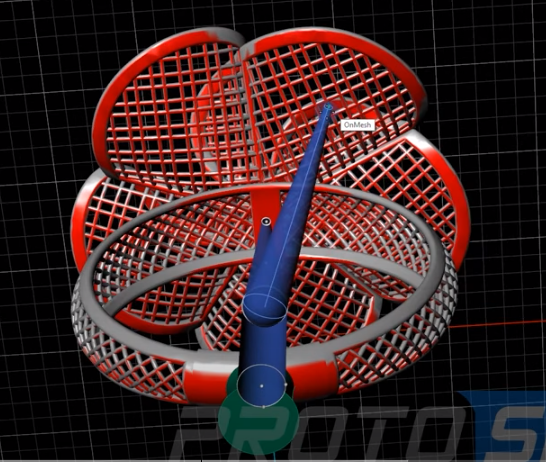
Starting the Placement of Support:
To begin, use GV3D printing and let it identify regions that need support.
Including Assistance:
Add supports to the places that are designated by using the tool. Recall that changes can be made within this command, but not after it has been exited.
Support Placement Refinement:
Adjust supports using precise guide circles and points after initial placement.
ADDITIONAL IMPROVEMENT USING PROTO SLICER
After creating the first support, we might choose to use Proto Slicer for additional modifications. This action entails:
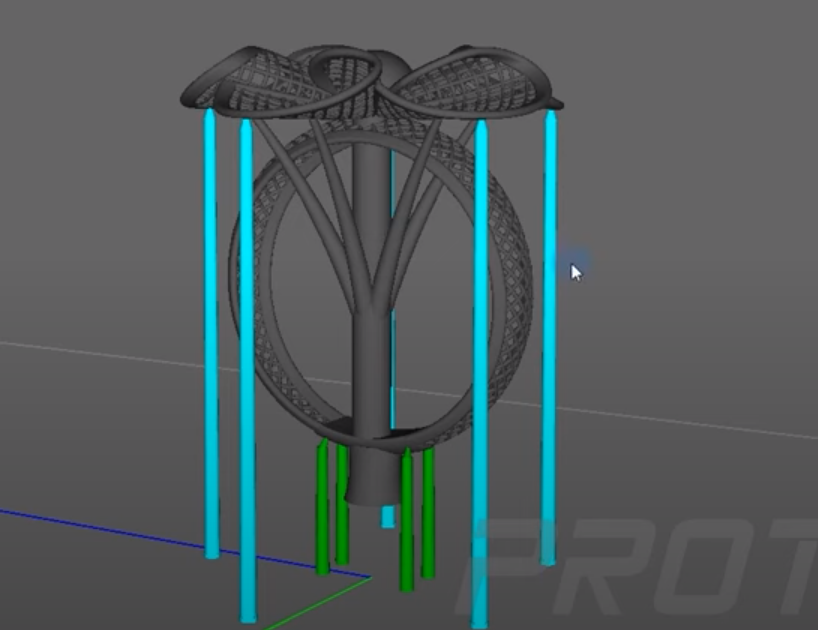
· The ring is being loaded into Proto Slicer.
· To make the building process easier, add straight supports around the base.
· Modifying supports by the white borders, which serve as a guide for island identification and construction.
· Changing the support parameters as needed, such as the thickness in higher sections.
LAST-MINUTE DETAILS AND PLACEMENT
· Position Adjustment:
For best printing, spread out the support positions evenly.
· Optimizing Support Angles:
To improve the stability of your support, modify the angles.
· Taking Care of Petal Areas:
To preserve structural integrity, locate possible islands and place straight supports strategically.
· Modifying Support Thickness:
To provide robustness, take into account thicker gauges for places with higher elevations.
FINAL THOUGHT: YOUR RING IS PREPARED!
And voilà! Your ring is now prepared for printing after completing these steps. This effective procedure guarantees that your design is sufficiently supported, improving the final output quality and simplicity of printing.
You can watch the whole tutorial and download the Design from the description of the Youtube video.